Elementor is a powerful WordPress page builder that enables users to create visually stunning websites without any coding experience. It has become increasingly popular in recent years due to its user-friendly interface and extensive customization options.
If you're new to Elementor, you may be wondering how to start using this tool. In this post, we'll explain what Elementor is, how it can benefit you, and provide a step-by-step guide on how to get started.
What is Elementor?
Elementor is a visual page builder plugin for WordPress that enables users to create custom website designs without any coding knowledge. The drag-and-drop builder allows users to create stunning layouts, add widgets, and customize every aspect of their website.
Elementor offers a unique user experience and gives you a level of control over your website design that is not typically possible with other page builders. With Elementor, you can create custom templates, add animations, and customize every aspect of your website to meet your specific needs.
How to Get Started with Elementor
Now that you understand what Elementor is let's dive into the step-by-step guide on how to get started with Elementor.
Step 1: Install Elementor. The first step in getting started with Elementor is to install the plugin. To do this go to your WordPress dashboard and navigate to the "Plugins" section. Click "Add New" and search for "Elementor" in the search bar. Once you find it, click "Install Now" and then click "Activate."
Step 2: Create a New Page.
Once you've installed Elementor, the next step is to create a new page. Go to your WordPress dashboard and navigate to the "Pages" section to do this. Click "Add New" to create a new page as you would normally.
Step 3: Launch Elementor.
After creating a new page, you must launch Elementor to start designing your page. To do this, click the "Edit with Elementor" button at the top of the page editor.
Step 4: Choose a Template (Optional).
Elementor offers a wide range of pre-designed templates that you can use as a starting point for your page. If you'd like to use a template, click the "Folder" icon in the Elementor panel on the left-hand side of the screen. Choose a template that you like, and then click "Insert."
Step 5: Design Your Page.
Once you've chosen a template (or decided not to use one), it's time to start designing your page. Use the Elementor panel on the left-hand side of the screen to add widgets, customize your layout, and adjust your page's styling. Elementor's interface is user-friendly and easy to navigate.
Step 6: Publish Your Page.
Once you've finished designing your page, it's time to publish it. Click the "Publish" button at the bottom of the screen to make your page live.
Tips For Getting The Most Out Of Elementor
Here are a few tips to keep in mind when getting started with Elementor:
- Use pre-designed templates
Elementor comes with a wide range of pre-designed templates that you can use to create beautiful pages and posts quickly. You can choose from a variety of different styles and layouts and then customize them to fit your needs. - Use keyboard shortcuts
Elementor has a number of keyboard shortcuts that can help you work more efficiently. For example, you can use "Ctrl + C" to copy an element, "Ctrl + V" to paste it, and "Ctrl + Z" to undo your last action. - Experiment with different widgets
Elementor has a wide range of widgets that you can use to add different types of content to your pages and posts. Experiment with different widgets to see which ones work best for your needs. - Optimize for mobile
With more and more people browsing the web on their mobile devices, it's important to ensure your website looks great on phones and tablets. Elementor makes it easy to create mobile-responsive designs that look great on any device. - Use Elementor integrations
Elementor integrates with a wide range of third-party tools and services, including WooCommerce, Mailchimp, and Yoast SEO. By using these integrations, you can add even more functionality to your website and streamline your workflow. - If you get stuck, Elementor has great online documentation and a supportive community of superfans to help.
Elementor is a powerful tool that can help you create custom website designs without any coding experience. By following the steps outlined in this guide, you can get started with Elementor and begin designing your own stunning website.
Consider Upgrading to Elementor Pro
Upgrading from Elementor to Elementor Pro gives you access to a wealth of advanced features and powerful tools to take your website design to the next level. With Pro, you can create dynamic templates, use advanced widgets, add custom CSS, create pop-ups and forms, integrate with third-party tools, and much more. If you want to create professional-grade websites with advanced functionality and customization options, upgrading to Elementor Pro is definitely worth considering.
Here are just a couple of the additional features you'll unlock as part of Elementor Pro:
Global widgets
Global widgets are reusable elements that you can use across multiple pages and posts. This is a great way to save time and maintain consistency across your website.
Dynamic content
Dynamic content allows you to display content that changes based on the user's location, time of day, or other factors. This can help you create more personalized and engaging websites.
Learn more about Elementor Free vs Pro.
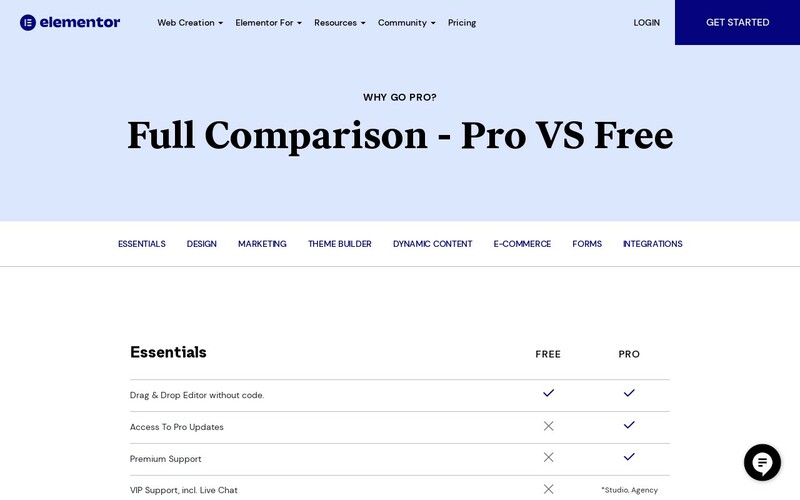
Visit Elementor.com for the full comparison.
Whether you choose Free or Pro, Elementor is a powerful tool that can help you create custom website designs without any coding experience. By following the steps outlined in this guide, you can get started with Elementor and begin designing your own stunning website.